Common Actor Operations#
Assets Used
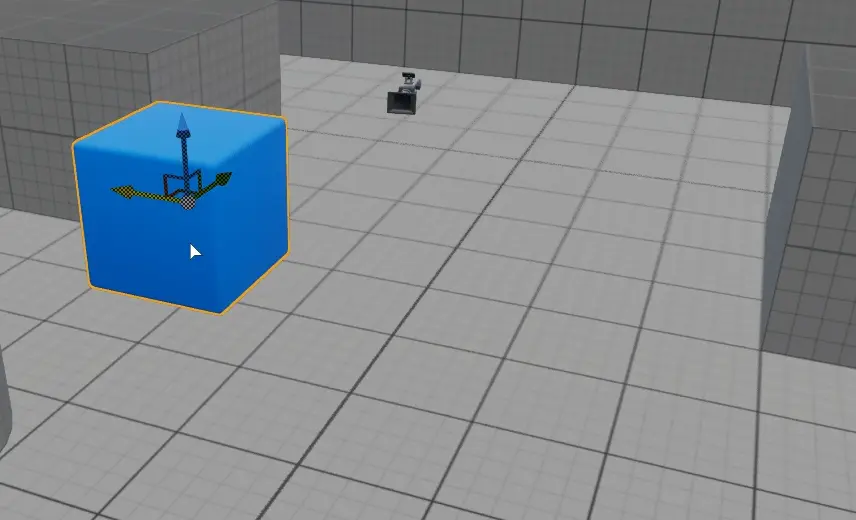
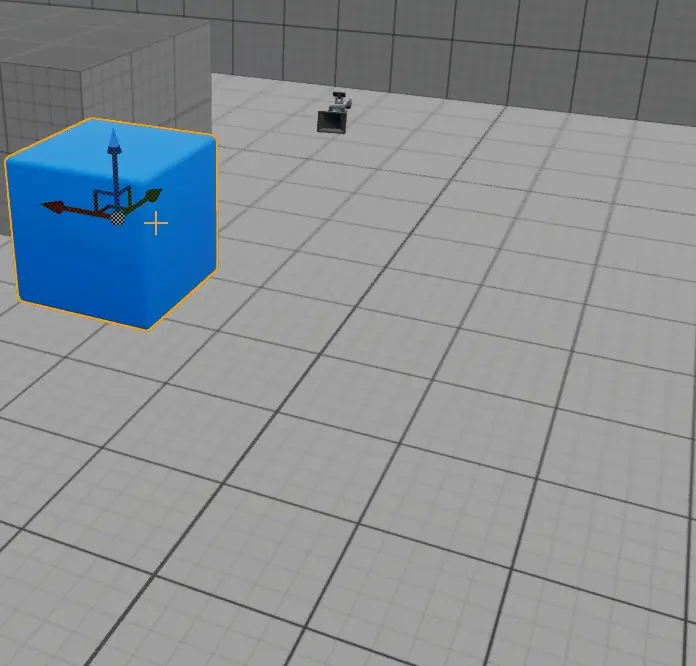
Placing actors#
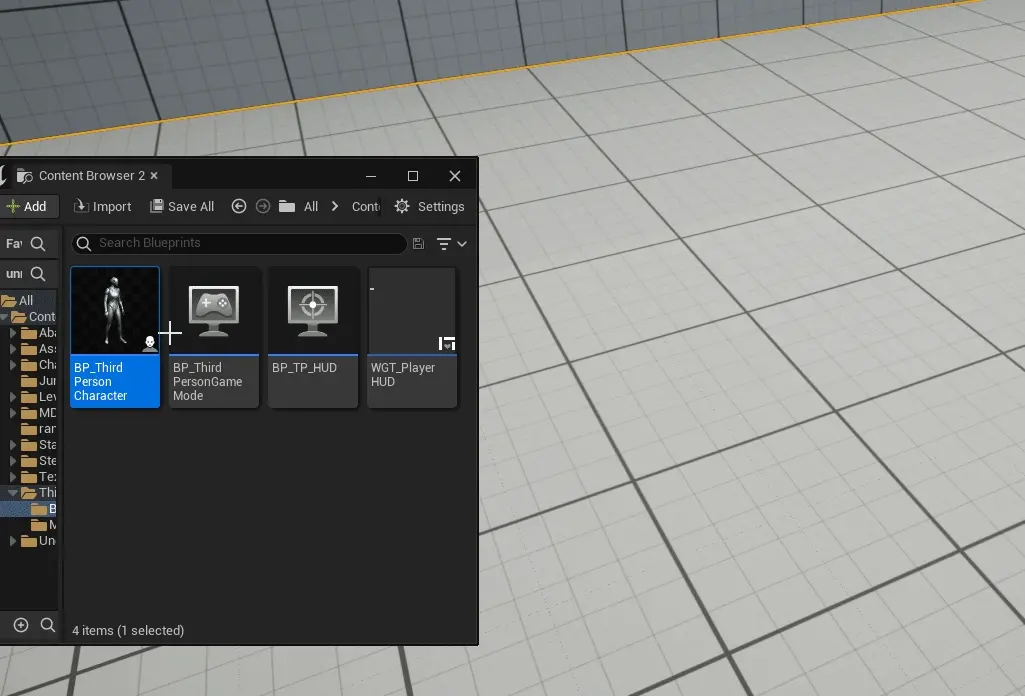
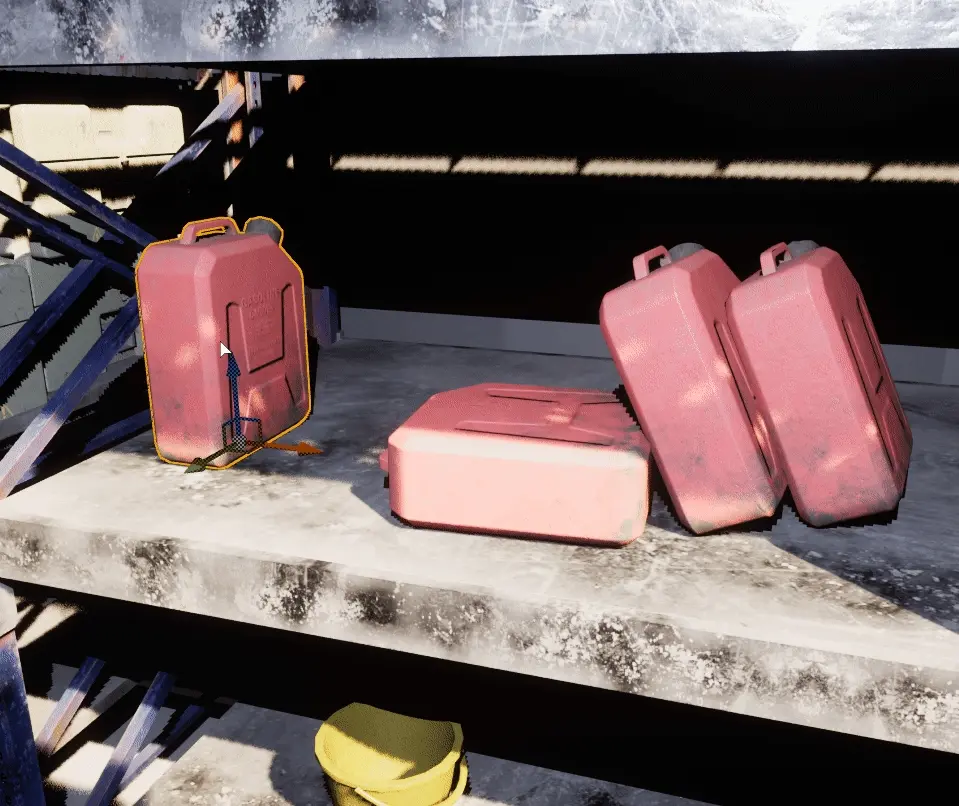
Drag & Drop from the Content Browser#
Using Context Menu#
Place Actor submenu in context menu allows to place recently used actors quickly.
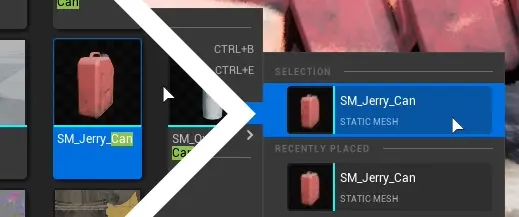
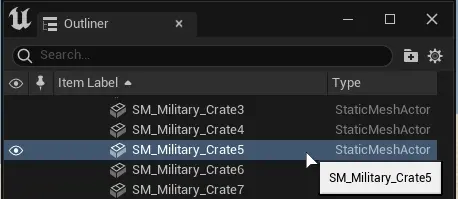
Selection section shows selected actor in asset browser
Replace actors#
Using Context Menu#
Duplicate actors#
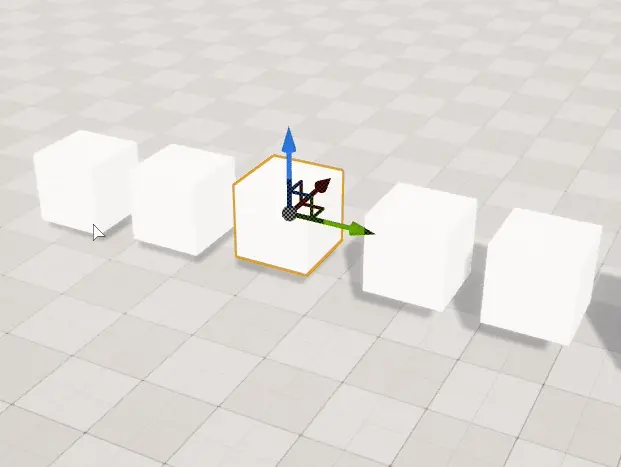
Alt + Drag#
Press Alt and drag any gizmo axis to duplicate actor.
Note
This feature does not work inside of actor blueprint viewport.
Using Ctrl+D#
Press Ctrl+D and then move duplicated actor

Using Context Menu#
Use Edit in Context menu.
Using Copy Paste#
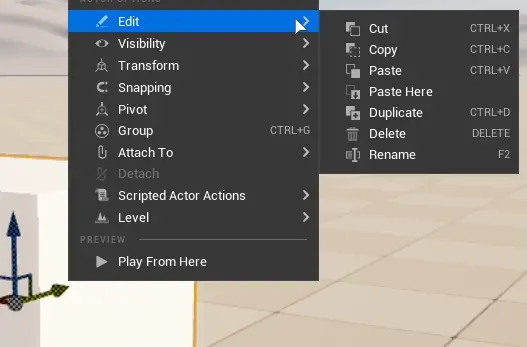
Using Copy Paste Here#
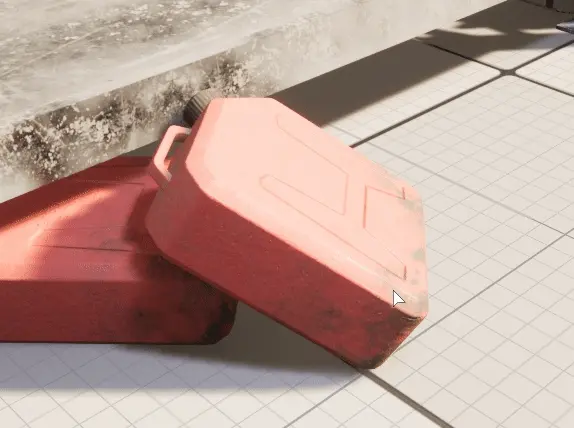
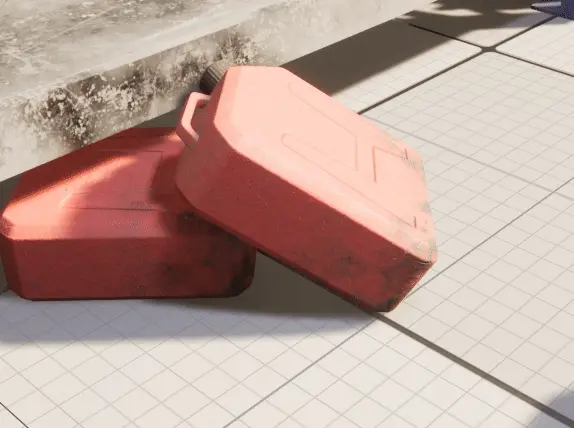
Paste Here function pastes copied actor at click location
Selecting Actors#
Using outliner#
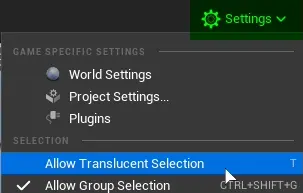
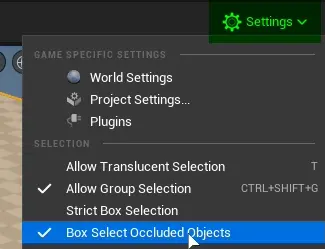
Select Transparent/Translucent Actors#
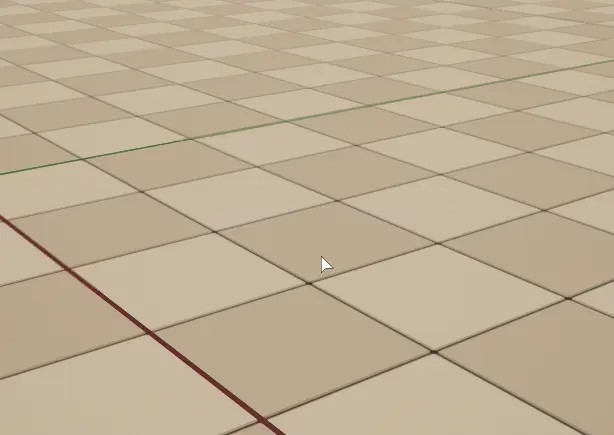
To select transparent/translucent actors, use Settings menu and enable Allow Translucent Selection
Info
Transparent actors are actors with material that has blend mode set to other than Opaque or Masked
Warning
This does not include bsp_actors
Marquee Selection#

Press CTRL+ALT+LeftMouseButton and drag to enable marquee selection mode.
Press CTRL+SHIFT+ALT+LeftMouseButton and drag to add actors to selection using marquee.
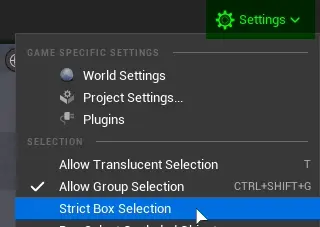
Strict Box Selection#
This function enforces that actors selected by marquee selection have to be fully encompassed by the selection rectangle.
Box select Occluded Objects#

Enables marquee selection to also select objects behind other objects and outside the view.
Rename Actors#
Using F2#
Press F2 to rename selected actors
Using context menu#
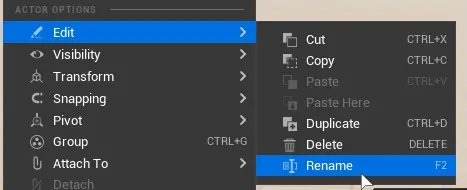
RightClick on the actor and use context menu function.
Note
You cannot rename multiple actors at once using this method.
Change Visibility#
Hide Selected#
Note
Once you go into play, simulate mode or switch Levels actors will reappear.
Using H#
To hide actor in editor, press H
Using context menu#
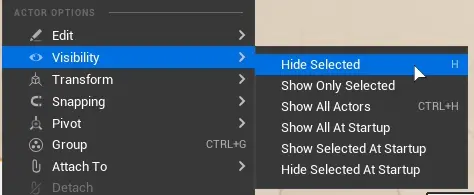
Show Only Selected#
Use Show Only Selected to hide everything that is not selected.
Warning
This includes lights and sky box.
Show/Unhide selected actors#
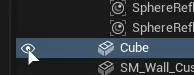
To unhide only selected actors, go to editor_outliner, and click on eye icon
Show/Unhide all actors#
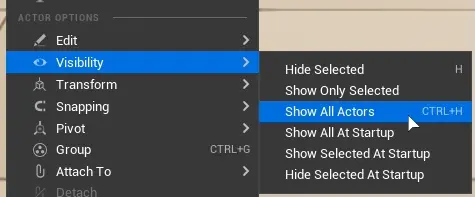
To unhide all hidden actors, press CTRL+H
Show/Hide Selected at startup#
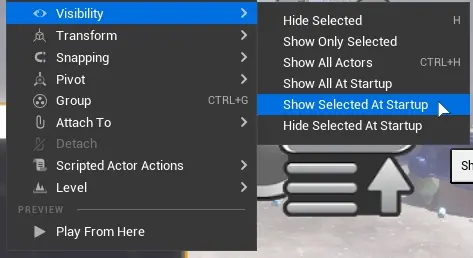
Once editor is in Play or Simulate state, selected actor will toggle it’s hide state.
Show all at startup#
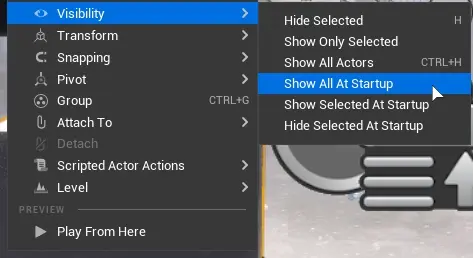
Any actors that had Show/Hide Selected at startup set will be visible when this function is enabled.
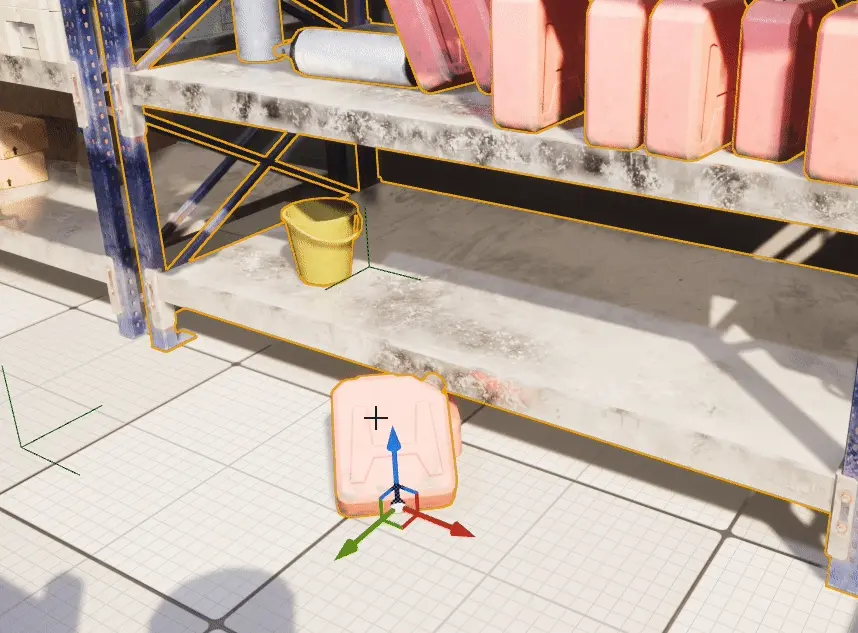
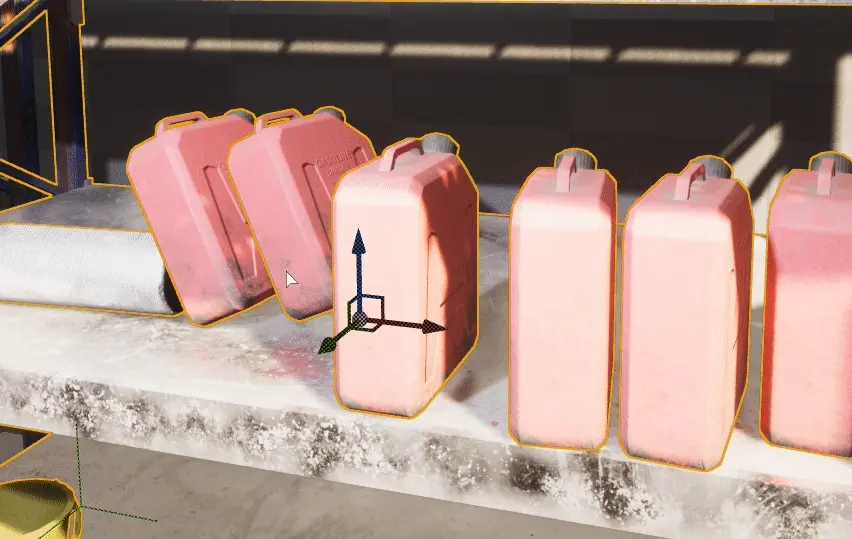
Actor Groups#
Actor groups combine multiple actor instances into one easily movable element in the editor.
Actor Groups cannot be grouped (nested grouping), only merged. Attaching Actors feature allows this, not only with single actors but groups too.
Create Actor Group#
Actors can be grouped to make moving multiple actors easier.
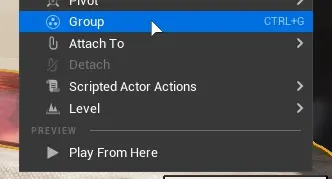
Using CTRL+G#
Select actors and press CTRL+G to group them.
Using context menu#
Adding new actors to group (Regroup)#
New actors can be added to group anytime using Regroup
Unlock Group - Select individual actors in a group#
Unlocking group makes individual actors movable again until group is locked again.
Ungroup - Remove Group#
Ungrouping removes the group bond between grouped actors.
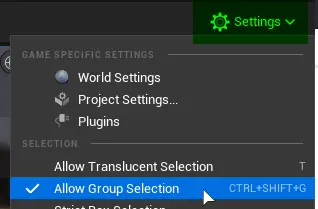
Allow Group Selection (Unlock all groups toggle)#
Allow Group Selection temporarily disables all groups and group functionality.
Removing all actors in a group#
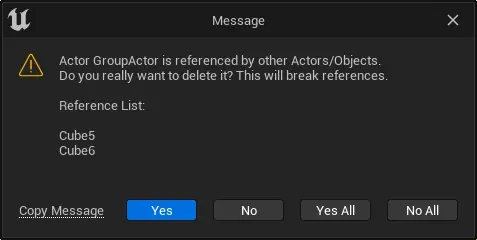
Pressing delete button while group is selected, will delete all actor instances in this group.
Warning message will be shown
Attaching Actors#

Use Attach To in actor context menu.
Attaching will make selected actor transforms relative to other actor without making it a component of that actor.
Note
Attached actors will be visible in outliner hierarchy

Transforms are relative at the moment of attaching.#
Removing parent attachment actor#
After parent actor deletion, child actors are simply detached.
Nested attaching & Groups#
Unlike Actor Groups, child actors can have other child actors attached to them and even whole groups.